Showing posts with label Christmas Decoration. Show all posts

Friday, December 13, 2013

Vintage Christmas Ornament Decorations

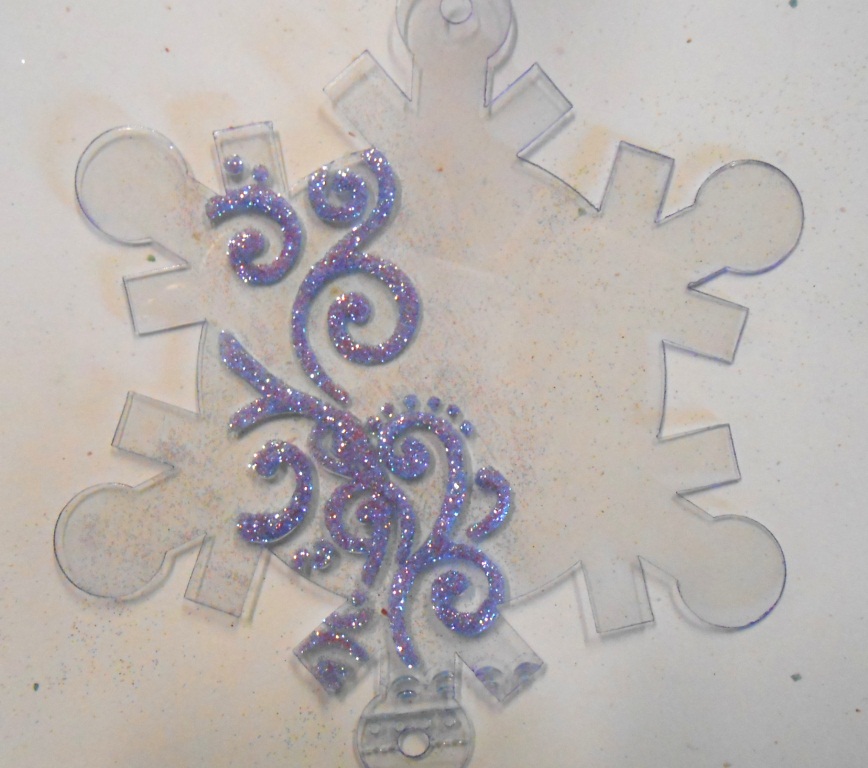
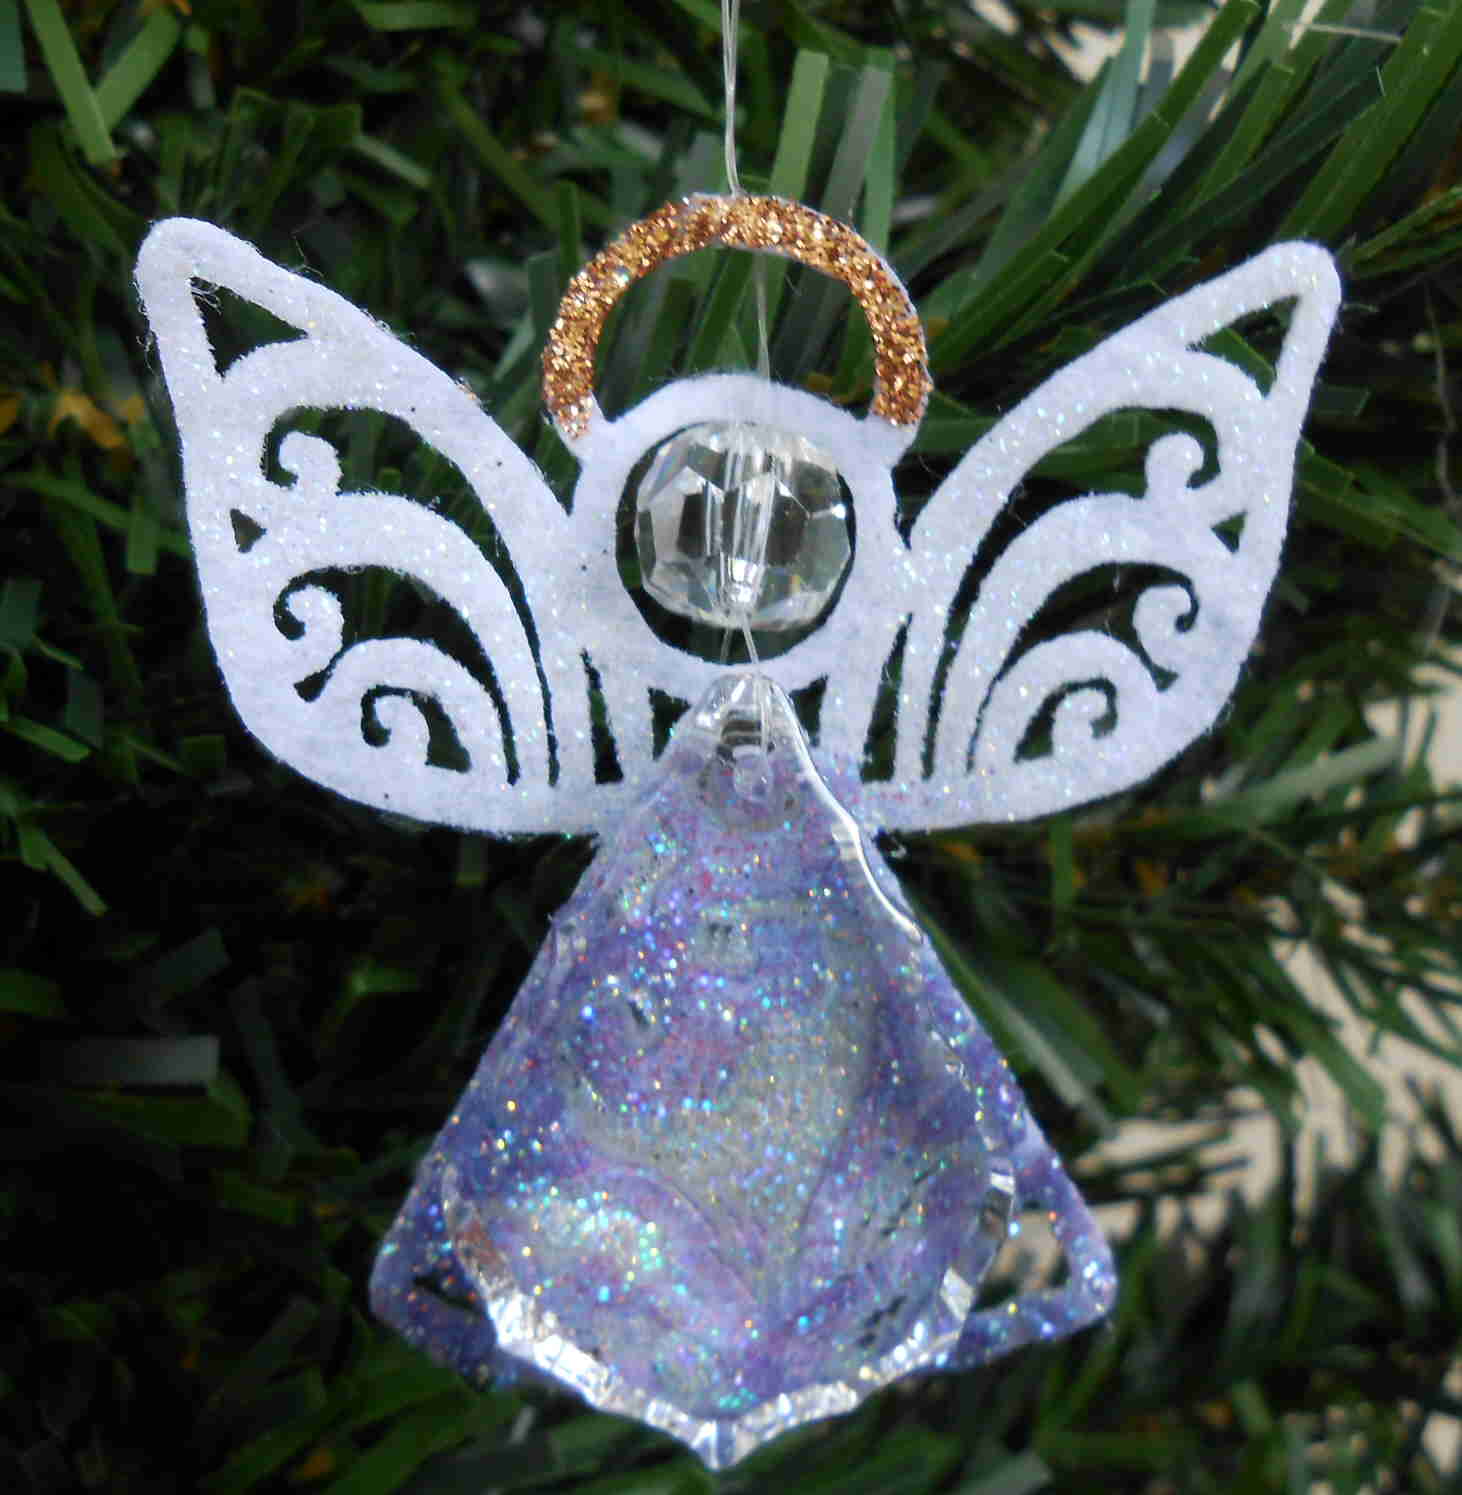
Today is all about vintage ornament shapes!  Both of these projects were made using papers and Clear Scraps Acrylic from December Creating Made Easy Kit.  These acrylic ornament shapes are so fun to decorate.  They reminded me a lot of some of the OLD glass ornaments my mom had so that was my inspiration for the these.  


Visit the Creating Made Easy Blog for more information on both of these projects!


Happy Holidays All!

KC


Thursday, December 5, 2013

Frosted Acrylic Snowman Tri-Fold

The December Creating Made Easy Kit from Clear Scraps has been released.  My first post for the month with this kit is a tutorial on these snowmen.  Hop over to the Kit Club Blog and check it out!


Happy Holidays All!!

Stay Warm!
KC


Monday, December 10, 2012

Crafting with the Family and Clear Scraps

Our family  (at least most of the girls in the family) love to craft.  So when we all get together at Thanksgiving we usually set some time aside for crafting.  I should mention that our Thanksgiving celebration begins Wed evening and lasts until at least Saturday.  This year's project was a Clear Scraps project featuring shapes from the mini-albums. (on SALE NOW!)  The project was appropriate for all ages and there was very little instruction needed - we just set out a buffet of supplies and let people dig in and get creative.

This project would be a great way to keep the kids busy over Christmas break.  These mini shapes are perfect for experimenting with techniques and colors -  anything goes!

Just gather some Clear Scraps mini album shapes, Alcohol Inks, Acrylic paints (metallic acrylics look great on Clear Scraps), Zip Dry Glue, Stazon ink, stamps, fun papers, stickers, ribbons, trims, glitter, flowers, buttons....basically anything.....and let the fun begin!  The idea is to make the shapes into gift tags that can then be used as Christmas Ornaments.
Here are some of our finished tags to get you started.  Fun scrapbook papers let people show their personality!  A little glitter and glam is great too!


Keep it simple.....


Or go all out.....

There are no rules!

For more Clear Scraps fun, visit the Clear Scraps Blog!

Happy Holidays!!

KC

Friday, November 30, 2012

Glittered Christmas Light Bracelet

Today I have a fun and relatively easy Christmas project combining polymer clay are Art Glitter.
These glittered Christmas lights could be used in decorations or as embellishments for mixed media projects or in this case for jewelry.
For this project I used:
Pardo Jewerly Clay in Ruby, Peridot and Gold
Art Glitter - Ultrafine Opaque - #1 - True Red, Ultrafine Transparent Neon - #241 - Fresh Lime, and Ultrafine Opaque - #65 - Old Gold
Antique brass spacer beads from Metal Gallery
Antique brass eye rings
Antique brass chain and toggle clasp
Art Glitter - Designer Dries Clear Adhesive (DDCA)
Begin by cutting one ball of Pardo clay into fourths.

Roll each of the quartered sections into a ball and then pinch and taper the end to form a teardrop shape.

Trim eye pins to about 3/4" long so that when they are inserted through the spacer bead and into the clay, they will not come through the bottom of the clay.  Insert the eye pins to secure the spacer beads to the fat end of the teardrops.

Roll the clay in glitter corresponding to the color of the clay.

Repeat with the other two colors.  And bake according to clay instructions.  Be careful not to over bake!
After baking, pull the pins back out of the clay, dip the pins in DDCA and re-insert into the clay for a secure hold.  To keep the glitter from shedding, brush on a layer of gloss acrylic sealer and let dry.


To finish, add jump rings and attach the "lights" to brass chain.  Attach a toggle claps to each end of the bracelet chain.

TIP:  The transparent glitter is a little lighter in texture than the opaque glitters and when baking may "disappear" into the clay if you over bake.  If this happens, simply let the bulb cool and then brush on a light layer of DDCA and reapply the glitter.  (Do not re-bake)

Please visit the Art Glitter Blog for more glittering project ideas!

Happy Holidays!
KC

Sunday, November 18, 2012

Faux Snow Snowflake Ornament

This is a quick and easy ornament project.  It is very kid friendly.  These would be great as teacher gifts, or write a personal message on the back and use them as gift tags.  These paper mache snowflakes are available at Hobby Lobby.

I started by painting the snowflake white with acrylic paint.  After that dried I sprayed the front side with Helmar V2 Vellum Adhesive.  While the adhesive was still wet, I placed the snowflake on a clean sheet of paper and sprinkled on the Faux Snow.

I shook off the excess snow and put it back in the jar.  Then I sprinkled the ornament with Art Glitter Ultra Fine Glitter - Pearlescent - #183 Blue Angel.  The glitter filled in any spaces on the adhesive that the snow had not filled.

Then I used purple and blue printed card stock to stamp "Let it Snow" and glued it to a purple backing.  I used Art Glitter Designer Dries Clear Adhesive (DDCA) to attach the card stock to the snowflake.  I finished with a swirl of rhinestones from Want2Scrap.  I used a little of the DDCA on the areas of the rhinestone swirl that extended over the "snowy" surface.

Thanks for stopping!


Friday, November 2, 2012

Heart Ornament

Halloween is behind us....on to CHRISTMAS!!!  From now until December 25th, I will be filling my blog with lots and lots of Christmas projects - decorations, cards, tags and gifts!!  Please check back often for holiday inspiration!

I am starting with a Christmas Heart Ornament that was on the Art Glitter blog in July, but in case you missed it, here it is....

To make this ornament you will need:  1 paper mache heart ornament, Acrylic paint - pearl, brown distressed ink, 1" double faced tape, 1/4" double faced tape, lace ribbon/trim, Art Glitter - Ultrafine Transparent - #86 Angel Dust & Ultrafine Opaque - #139 Leather, Graphics 45 green holly ('Tis the Season) paper from the Christmas Emporium Collection, 3/4" red ribbon, 1/8" gold ribbon, Swirls Finesse - Brown from Want 2 Scrap, Art Glitter Designer Dries Clear Adhesive.
Paint the heart with pearl/metallic acrylic paint and antique with brown distressed ink.

Run two strips of 1" double faced (red line) tape from the top edge to the bottom edge.  Burnish with your finger to make sure the tape lies flat and secure to the curve of the heart.

Remove the red plastic from the tape and lay lace trim so that the outer edge of the trim runs along the outer edge of the tape.  The middle section will eventually be covered up so if the lace doesn't match up to the edge of the tape, don't worry about it.

Shake "Leather" Art Glitter onto the exposed tape.  Tap and brush off excess glitter.

Carefully remove the lace.

Cover the exposed tape surface with "Angel Dust" Art Glitter.  Tap and brush off the excess.

Cut a strip of the green holly paper about 1 1/4" wide.  Trim the edges with decorative trim scissors (paper shapers)  Lay the paper onto the heart and trim a "V" at the top and bottom to match the contour of the heart.  Set aside for a minute

Run a line of Designer Dries Clear Adhesive (DDCA) down the inside edge of the tape/glitter and place red ribbon so the the two pieces meet in the middle.  Don't worry about trimming the ends yet.

Run more DDCA down the center of the ribbon and adhere the strip of holly paper.  Once this is dry, trim the paper and ribbon along the top and bottom edge of the heart.  
Run a strip of 1/4" double face tape around the outer edge of the heart.  Place the end of the red ribbon at the top center, next to the hanging string, and work in an accordion fashion to create ribbon ripples around the heart.  Stop at the bottom tip and trim the ribbon.  Repeat on the other side.

Run another strip of 1/4" tape along the top of the ribbon ripples to "gather" ruffles.  Lay 1/8" gold ribbon down the center of this tape and cover the remaining exposed tape with "Angel Dust" Art Glitter.

Finish by adhering Want 2 Scrap rhinestone flourish to the face of the ornament.  Trim the flourish as desired to fit.

Stop by the Art Glitter Blog for more glittering fun!  

KC

Tuesday, October 9, 2012

Glittered Acrylic Snowflake

I'm beginning to gear up for Christmas with an acrylic snowflake ornament.  For this project I used:

Clear Scraps Acrylic Snowflake from the Gingerbread Banner set,  Sizzix Embossing folder and Big Shot, Art Glitter Designer Dries Clear Adhesive (DDCA), Art Glitter Ultra Fine Opaque - #268 - Horizon,  mix of coordinating papers, Sizzix Bigz Die - Tattered Flowers, Connie Crystal - Octagon Crystal AB, Want2Scrap Beautiful Bling Borders - Fancy Waves

Begin be tracing the snowflake onto your background paper and cut paper to fit.  This paper is from Kaisercraft.  Set the paper aside for a bit.

Place the snowflake in embossing folder and run through the embossing machine,

Remove the protective plastic from the backside of the acrylic, fill the recessed areas of the design with DDCA and cover with Art Glitter.  Shake off the excess.

Once the adhesive has dried, turn the snowflake back over and use DDCA to glue the cut paper to the back of the acrylic.  You only need a little glue - I put a drop at the end of each arm of the snowflake and a little bit behind the embossed area.

Run coordinating papers through the die cutter using the Tattered Flowers die cut.

Spritz the paper flowers with a little bit of water.  Use a toothpick to round the ends of the petals.  Let dry.

Assemble the flower by layering alternating papers and gluing each in place with DDCA.  


Use DDCA to glue Connie Crystal octagon bead to the center of the flower,


Finish by gluing adding Want2Scrap bling to each of the tips of the snowflake.  (don't forget to remove the protective plastic from the front of the acrylic, if you haven't already!)  Glue the flower in place.  Punch a hole in the paper at the top (there is already a hole in the acrylic) and add an eyelet.  Tie silver ribbon in place for hanging.

Visit the Clear Scraps blog for more great acrylic projects!

Wednesday, August 22, 2012

Little Crystal and Glitter Angel

I've been trying to keep up a Christmas theme on my blog this month, so this little angel was created as a Christmas ornament, but she would make a great guardian angel to hang from a rear view mirror anywhere else she might catch a little light.  This is a super easy project and would be a great project for kids too.  How cute would these be as teacher gifts this Christmas?

I used:  Felt angel from Creative Impressions Felt Ornament collection, Art Glitter Dries Clear Adhesive, Art Glitter Ultrafine glitter in Horizon, Angel Dust and Leather, Connie Crystal Beads: 1.5" French Cut, and 10mm Round.

I began by using a make-up sponge to dab the adhesive onto the "dress" area of the felt angel and then coated it with Horizon glitter.  I then dabbed adhesive on the wings and coated with Angel Dust glitter.  The halo was then done in Leather glitter.

I brushed the back side of the French Cut Crystal with the adhesive and positioned the felt on top - glitter side down - so that the top of the crystal lined up with the top of the dress section.  

I covered the backside of the exposed adhesive with Angel Dust glitter.

Once the adhesive was dry, I ran a clear beading wire through the hole at the top of the French Cut Crystal and ran both ends of the wire up through the 10mm round bead. 

 I tied the wire around the halo to hold the bead in place and then tied a knot at the end of the wire to form a loop for hanging.

I love the way the crystal magnifies the glitter behind it!  I think I'll be using this on more projects!

Have you checked out the new Connie Crystal Website and Blog?  The Connie Crystal design team posts a variety of crystal projects with great tutorials and "how to's".

And don't forget....if you have a store, you can set up a wholesale account with Connie Crystal!  If you don't have a store, Connie Crystals are available on Amazon!!


Saturday, August 18, 2012

Glittering Snowflake Ornament

By far, of my favorite theme is Holiday decorating is snowflakes!  Today I'll be sharing one of what, I'm sure,  will be many snowflake-themed projects.  This is a super quick and easy project, not to mention fairly inexpensive.  These snowflakes are great as ornaments, embellishments for cards or layouts, or tie them onto your packages for a little extra pizazz.  Of course, the ornaments are cool, but glitter makes them great!

For this project I used:  a Snowflake from Clear Scraps Mini Snowflake album, Sizzix Snowflake Embossing folder, Sizzix Big Shot embossing machine, Art Glitter Designer Dries Clear Adhesive (DDCA), and Art Glitter Ultra Fine Transparent Glitter - #86 Angel Dust.


Begin by placing the acrylic snowflake in the embossing folder so that the snowflake pattern is centered on the acrylic.  Run it through the Big Shot.

After embossing, remove the protective plastic from both sides of the acrylic.  Placed the snowflake on your work surface so that the embossed snowflake is face down and the recessed snowflake is face up.  Using a fine metal tip on your DDCA, begin filling the recessed areas of the snowflake

If you work quickly, you can fill the entire snowflake with adhesive and then cover with Angel Dust glitter.  If you work slowly, stop after one or two sections and add the glitter so that you can be sure your glue is still wet and the glitter will adhere properly.  Shake and tap off the excess glitter.
Run a line of DCCA around the outer edge of the snowflake and sprinkle on more Angel Dust glitter.

Lie flat to allow adhesive to dry thoroughly.  The glue is still wet and milky white here.

Once the glue dries, the glittered areas are much more translucent - like a crystal snowflake.  Add a ribbon for hanging.

This is another snowflake ornament that I have made using Art Glitter and Clear Scraps Acrylic.  It is a larger and slightly more involved project.  The full instructions are on the Art Glitter Blog today.  Please go check it out!