Thursday, February 21, 2013

Clear Scraps Happy Spring Banner

As we are preparing to get hit with a major winter storm, I'm thinking SPRING!!!.  The Garden Acrylic Border from Clear Scraps inspired this Happy Spring Banner.  This project features some of the new 2013 releases from Clear Scraps!

I used the New Large Chip Banner pieces for the base of the banner.  They are covered in bright papers from Red Rubber Designs - Catelynne Patterned Cardstock Collection, and embellished with pearls, pearl paints and acrylic flowers and butterflies.  The glitzy centerpiece is the Acrylic Garden Border.

I wanted lots of fanciful glitter on this project, so I began by picking out one element on the garden border - the butterflies - and coating it with Art Glitter's Designer Dries Clear Adhesive.

Then I sprinkled a mix of blue glitters over the wet glue.  I repeated this on each of the butterflies on the border.  Then I did the dragonflies with blue bodies and green wings, and then the flowers in pink and white glitter.

It sparkles beautifully!

Check all the NEW products from Clear Scraps!!  They are all spectacular!!

And visit the Clear Scraps Blog, for lots of inspiration!


Thursday, February 7, 2013

Organizing Creativity - Clear Scraps Build It Your Way Binder

Have you seen all the new releases from Clear Scraps?  This new Build It Your Way Binder is amazing!  It is a clear acrylic 3 ring binder that you can decoration any way you like.  There are optional pages to go with it - some chipboard, some acrylic - mix and match and build it the way you like!

When I saw the new Clear Scraps Bind it Your Way binder, I knew immediately what I wanted to do with it.  This binder will be a place for me to keep and organize creative ideas, samples and inspirations.

I like to doodle -so, one of the sections in this binder will be devoted to collecting my doodles and sketches.

I chose to use the chipboard pages inside the binder.  Since I will be continuing to add to this binder, this will always be a work in progress.  I may at some point add more acrylic pages, but for now the chipboard pages camouflage some of the creative clutter that will be kept in this book.

The cover of the binder also features a couple of the other new items from Clear Scraps.  The "lattice" border was created using blue and purple alcohol inks and 6" Quarterfoil Mascil - Mask/Stencil.

The blue scroll is one of the new acrylic borders - Swirls.  I used a mix of blue tones of alcohol ink on the back and then painted the backside with white acrylic paint to make it stand out more.

Visit the Clear Scraps site to see all of the new products!!

And visit the Clear Scraps Blog for more inspiration!!

Thanks for stopping!  Happy Crafting!

KC


Saturday, February 2, 2013

Personalize it! Glittered Purse Hanger

Ever been out to a restaurant and find it hard to find a place to put your purse?  The floor may be a little sketchy - the back of your seat isn't safe, and all the seats at the table are taken. These purse hangers are SO handy for just such an occassion.  They make great gifts for teachers, co-workers, friends & family.  Getting married?  These are great for your bridesmaids.

You will need:
Blank Purse hangers - (I found these on Ebay, but I think Hobby Lobby carries something similar) Art Glitter Ultra Fine Glitter (any color), Globecraft Memories Glastique Gloss, Alphabet stickers - smaller than 1" in diameter.

Begin by putting a puddle (about the size of a quarter) of Glastique in the center of the purse hanger.

Add about 1/2 teaspoon of your favorite color of Art Glitter and carefully mix into the Glastique with a toothpick.

Use the toothpick to spread the glitter mixture evenly over the bottom of the purse hanger and set aside to dry.

Once dry, add desired letter sticker.  Be sure to press it down completely so no air bubbles will form under it.

Add another layer of Glastique, completely filling the recessed area.  Set aside to dry over night on a level surface.  The thicker you apply the Glastique, the longer it will take to dry.  It is set when it is completely clear.

Tada!

How easy was that?!!

Thanks for checking this out!

Please drop by the Art Glitter Blog for more glittering fun!

Happy Holidays!!


Thursday, January 31, 2013

Clear Scraps Creating made Easy Kit - Glittered Heart Card

Have you checked out the Clear Scraps New Kit Club!  The Feb kit features papers from Basic Grey and of course, wonderful projects from Clear Scraps!!

You can find the full tutorial for this card on the Clear Scraps - Creating Made Easy Blog - along with daily inspirations of projects you can make with this kit.

Go check it out!!!


Happy Valentines Day!
Enjoy the kit!!


Friday, January 18, 2013

Funky Upcycled Denim Cuff Bracelet

At the beginning of the school year, I bought my daughter several pairs of jeans.  By Christmas they were all to short!  She is also pretty rough on jeans and several pair were too ripped up to even send to Goodwill...so....I had wanted to work on some upcycled projects, and the denim I was about to throw out seemed like the perfect material for a fun glittering fiber project.

For this project I used:
Materials:  Denim from old pair of kids jeans, a cardboard core from a roll of packing tape, Blue acrylic paint, Acrylic sealer (brush on type), Acrylic sealer (Spray on type)  Art Glitter Fabric Dries Clear Adhesive (FDCA), Art Glitter Ultrafine glitter:  #117 Goldilocks, #65 Old Gold, #48 Emerald, #249 Woodberry, Embossing powder, Art Glitter Fantasy Fiber - English Ivy.

Tools and supplies:  Iron, Teflon sheet or parchment paper, Sizzix Big Shot, Tim Holtz Tattered Flowers Die, assorted bottle lids and caps, paint brushes


Cut a section about 1" - 1 1/2" out of the tape core and gently bend it into the size and shape needed to get on and off your wrist and wear comfortably.    

Paint the inside and edges of the core with blue acrylic paint and seal by brushing a layer or two of acrylic sealer.

Used Sizzix and Tim Holtz Tattered Flowers Die to cut flowers from excess denim.

Paint a little Art Glitter Fabric Dries Clear Adhesive on the tips of the flower petals.

Sprinkle a mix of Art Glitter Ultrafine glitters on the adhesive, one color at a time.  

Repeat this on each of the flowers.

Spray the front of the flowers with clear acrylic sealer and gently press the flowers into various caps to give them a little shape, and set them aside to let them dry.
Cut a piece of denim that is long enough to go around the outside of the core + 1/2" and about 1/2" wider than the core.  You want to cut with the grain of the fabric (not on the bias), so this piece was cut by cutting straight across the back of one leg.

Run it through the washer and dryer with a load of clothes to fray the edges

Sprinkle the fabric with embossing powder.  Any embossing powder should work, but will show through the fibers slightly, so you'll want to pick a complimentary color.  This one has gold sparkles that show through for a little extra sparkle.

Position clumps of Art Glitter Fantasy Fiber over the fabric.

Cover with a Teflon sheet or parchment paper and iron according to directions.  I actually held the iron too long in one spot and got a little more copper color there - see the iron imprint to the left?  Since I liked the variation of color I wasn't too worried about that.  But note that if your colors are changing to a lot of copper tones, you are probably holding the iron on too long, or have it too hot.

Trim off the extra fibers that are extending past the edge of the denim.

Use FDCA to glue the layers of the flower together and glue the flower to the bracelet piece.  I decided not to use the daisy shaped piece in my flower, so I'll save that for another project.  Glue a button or other bling in the center of the flower.

Use FDCA to adhere the denim bracelet to the tape core


Thanks for visiting!  Please visit the Art Glitter Blog for more glittering fun!  


Monday, January 14, 2013

Clear Scraps New Release Blog Hop

Clear Scraps is introducing 140+ NEW PRODUCTS for 2013 and we're celebrating with a BLOG HOP and GIVEAWAY!! Hop by all of the fabulous Design Teams' blogs to see the new products and amazing projects! Leave a comment at EACH BLOG for a chance to win an amazing prize package filled with Clear Scraps Goodies!!  (Over $30.00 retail value!)


For my project, I am sharing a frame I made using two of the new frames -  Small Rectangle Deco Top Frame and Medium Rectangle Deco Frame.  
I love the shapes of these frames!  So great for so many projects!
Be sure to drop by the Clear Sraps blog in Feb for a tutorial on how to add floral details like these to your acrylic frames!

Now....back to the hop......

Here are the Links.  Be sure you visit all of them!!
Clear Scraps


Happy Hopping!!

KC


Friday, January 4, 2013

Happy New Year!!


Visit the Art Glitter Blog today to see this project!
WOW!!  2012 FLEW by!!!  Early in the year I made a commitment to myself to explore different crafting interests.  I felt that I had fallen into "cookie-cutter" crafting - trying to crank out as much as I could for craft shows, sales and festivals.  The joy of creating and experimenting was gone - it was all about the money......So I took a year off from craft shows and fairs.  But...I still wanted to create with a purpose so I applied for spots on a few design team.  I was thrilled and amazed to be chosen to work with some extremely talented people and work with really great products.

As I reflect on 2012 and prepare for the new challenges of 2013, I wanted to re-visit some of my favorite projects from the past year.

Cigar Box Purse - April

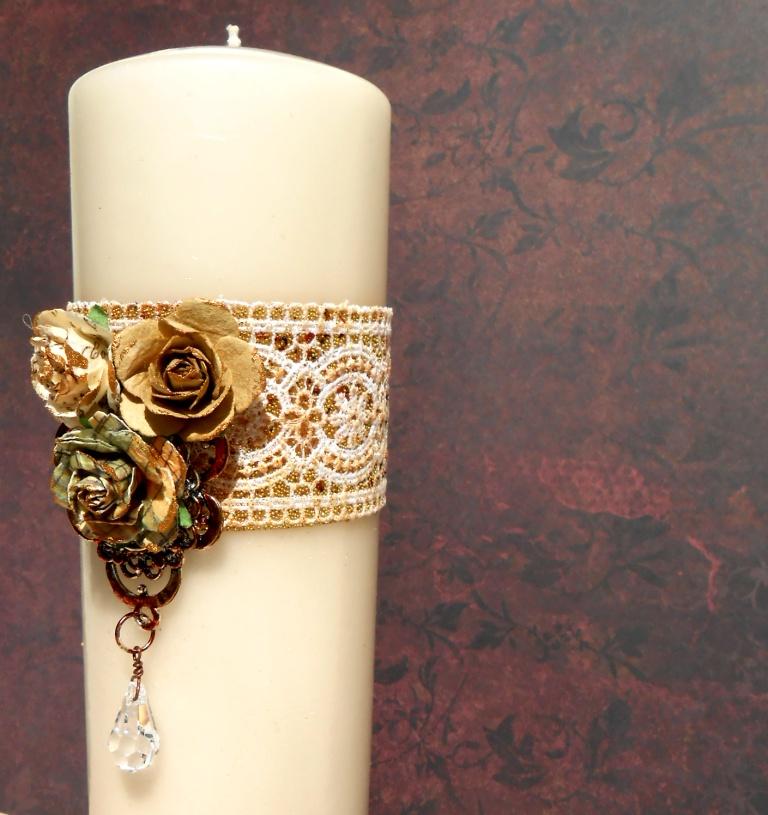
Dollar Store candle

Double Glittered Butterfly Card
Take the Plunge


Haunted Castle

Crystal, Glitter & Acrylic Snowflake

Thank you to my new friends at Connie Crystal, Art Glitter, Red Rubber Designs and Clear Scraps for giving me the opportunity to grow as an artist.  I am constantly inspired by the other designers and challenged to create projects that live up to the reputation of these wonderful companies.

Happy 2013!!

KC