Showing posts with label Card. Show all posts

Friday, December 6, 2013

Clear Scraps Christmas Card

Today on the Clear Scraps Kit Club Blog, I'm sharing tips and tricks for this card.  Check it out!

Happy Holidays All!

KC


Thursday, May 16, 2013

Clear Scraps Dream Card

With graduations around the corner, I created a card to encourage the graduates to follow their dreams.

I used the Clear Scraps Send it Clear Card -  Half Scallop Card.  I also used the Expressions Clear Word Titles - Dream (small).


I began by stamping a butterfly stamp on the front of the card in Stazon Opaque White and then dusted it with glitter while the ink was still wet.  The scalloped border was created using  Viva Decor Pearl Pen which was also dusted with glitter while it was still wet.  A mix of silver and gold alcohol ink was used around the edges of the two front pieces.

The paper used for the background on the card is from Prima Marketing's Fairy Rhymes Collection.  "Dream" was colored on the back using Viva Decor 3D Stamp Paint.

Please visit the Clear Scraps Blog for more Springtime inspiration!!

KC

Saturday, March 16, 2013

Pot-O-Gold Card


Are you ready to get your Irish on?  For St. Patty's Day, I've turned a Clear Scraps Send it Clear Cupcake Card into an over-flowing pot of gold!

Begin by painting the backside of the "Pot" with black acrylic paint.  Then create a rainbow with alcohol inks.

Use a felt pad alcohol ink applicator.  Apply alcohol inks in Red, Yellow, Green and Blue in strips across the pad - allowing the colors to bleed together slightly.  

 
Working on the back side of the card, daub on the rainbow, moving left to right in an arch.  Use rubbing alcohol on paper towel or soft cloth to clean up the edges.


On the front of the card, use an old paintbrush to apply a generous layer of Art Glitter Designer Dries Clear Adhesive to the top sections of the cupcake/pot o' gold.  While the glue is still wet, cover with Art Glitter Dazzlers - Treasure.  Shake off the excess and set aside to dry.  Repeat on the other half of the cupcake.


I finished the inside of the card by adding two tones of green paper to the back section of the card and a Clear Scraps Accent Embellishment that had been colored with Green and Teal alcohol inks and stamped with as St Pat's Day message.  I added gold pearls to the embellishment with Viva Decor Pearl Pen.  The fancy gold corners are stickers from Mark Richardson.


Happy St. Patty's Day to All!!  


Thursday, January 31, 2013

Clear Scraps Creating made Easy Kit - Glittered Heart Card

Have you checked out the Clear Scraps New Kit Club!  The Feb kit features papers from Basic Grey and of course, wonderful projects from Clear Scraps!!

You can find the full tutorial for this card on the Clear Scraps - Creating Made Easy Blog - along with daily inspirations of projects you can make with this kit.

Go check it out!!!


Happy Valentines Day!
Enjoy the kit!!


Thursday, September 27, 2012

Thank You, Red Rubber Designs!

This is a bittersweet moment as I write my final post for Red Rubber Designs.  It has been a wonderful experience designing for this company.  I have the utmost respect for Pam, Sarah and the rest of the RRD Design Team!  I have been inspired to step outside of my comfort zone and try new many new things.  You are all so talented and I have enjoyed working with you all so much!  I will continue to follow along with your posts and challenges.  I have learned so much from all of you and I know you have only scratched the surface with all you have to share.

For may RRD Design Team Friends, a simple "Thank You"!

For this card I used Vintage inspired stamps from Red Rubber Designs - Victorian Embellishments and Vintage Greetings, and paper from Amelia Patterned Cardstock Collection.  The stamping was done with embossing ink and heat embossed with gold embossing powder.  The gold stripe is a strip of double stick tape that was put in place, then coated with embossing powder and heat set.


KC

Tuesday, September 25, 2012

Experimenting with Clear Scraps Acrylic

If you have never played with Clear Scraps Acrylic, you may be a surprised to find out how forgiving it is.  If you ink it with alcohol inks and then decide you don't like the color or effect, you can remove it with non-acetone nail polish remover.  If you stamp it and are not happy with the stamp, you can remove it with rubbing alcohol or non-acetone nail polish remover.  But even though I know I can undo a lot, there are still times I'm a little nervous about trying a new technique on a piece.  For that reason, I always keep some smaller Clear Scraps pieces around that I can experiment on.  The Coasters, Tags, and ATC pieces are great for this.  If I try something that can't be reversed, and I don't like the result, I can pitch it, and I haven't messed up a large layout or album.  If I'm happy with it, I can use it in a larger project, or as a tag or card.

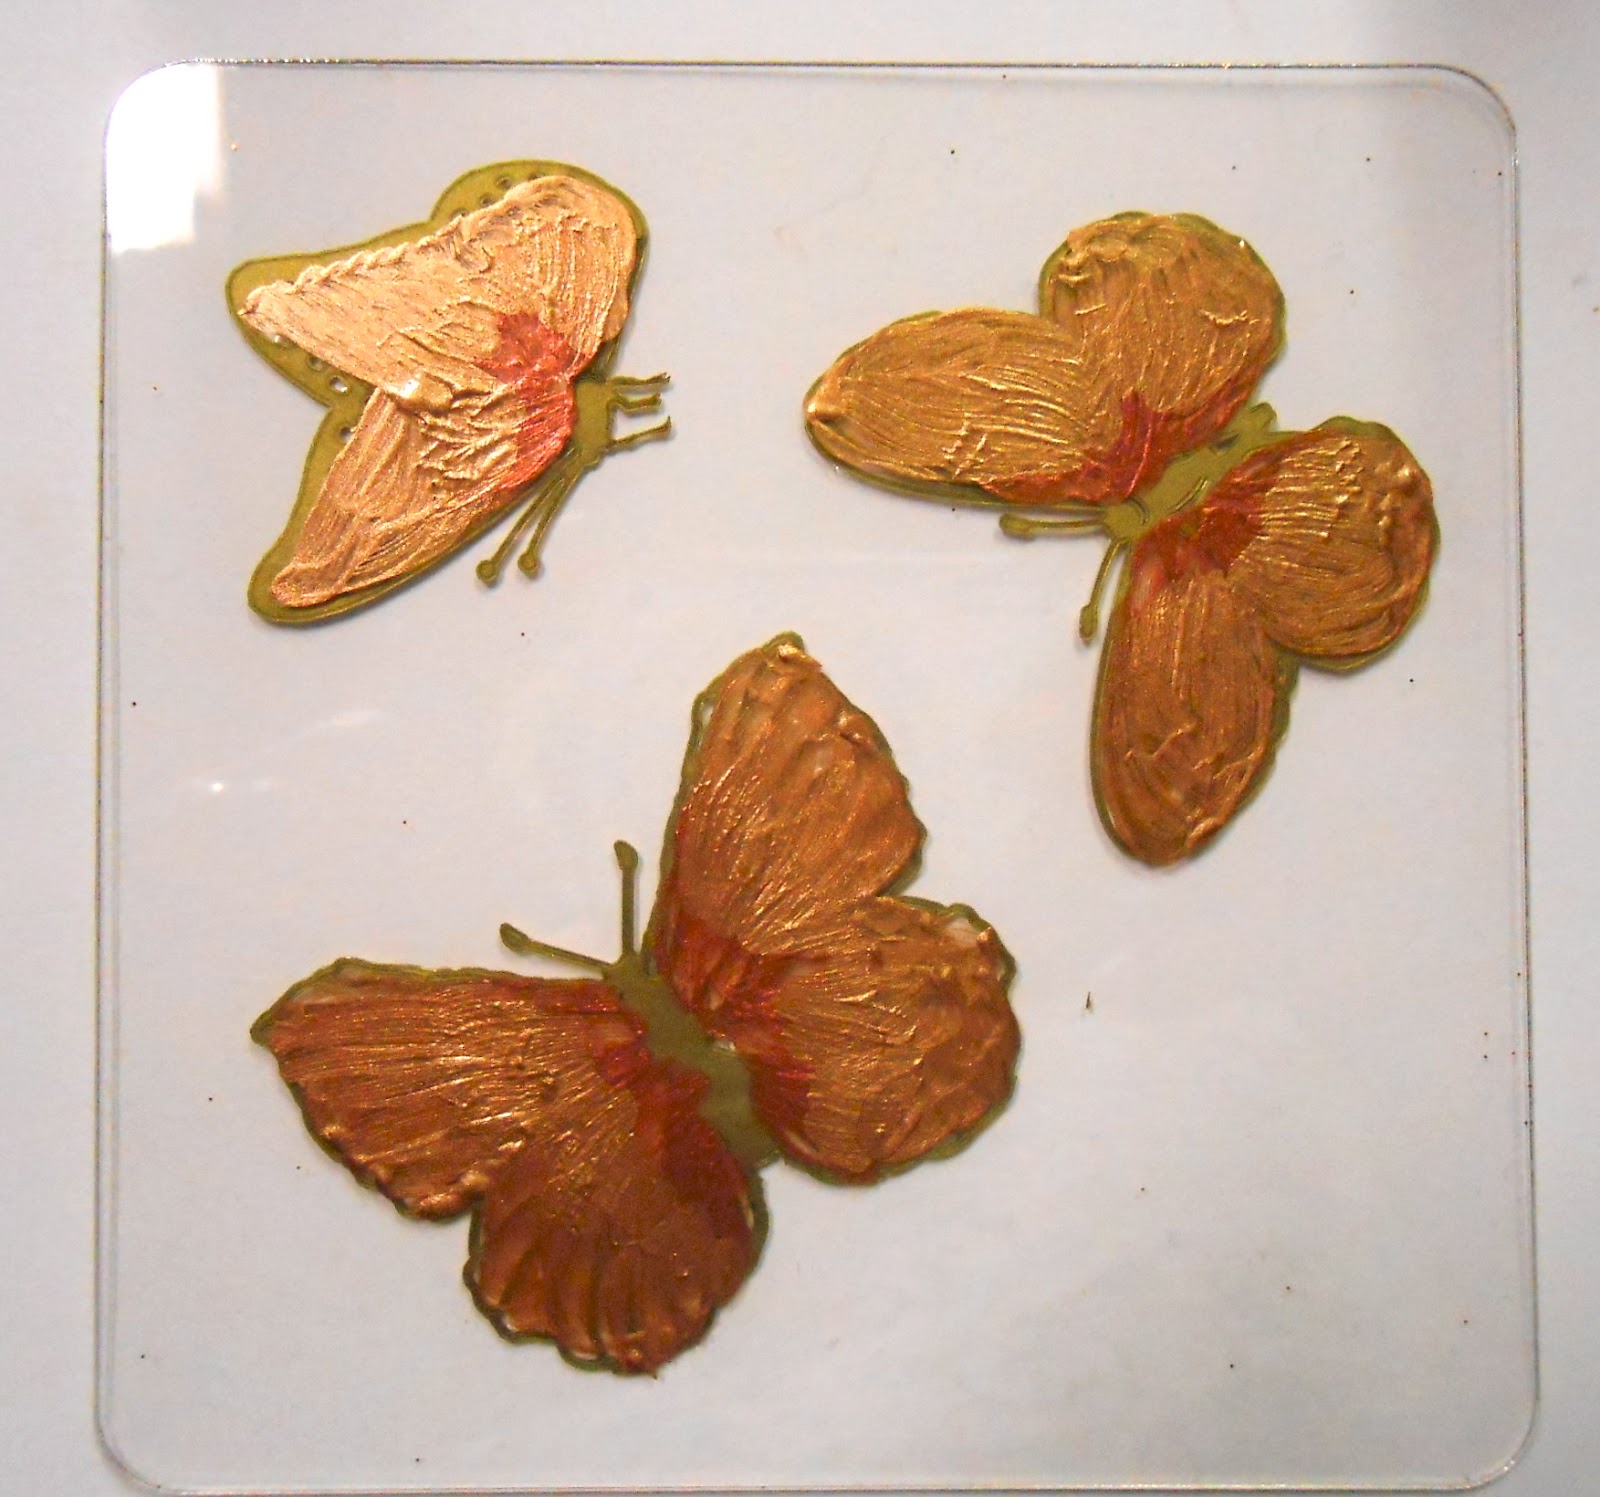
This was one of my experiments from this weekend.  I used a Clear Scraps Coaster and some butterfly stickers from Mark Richardson.

I filled in the open areas of the wings with Glass Effects from Viva Decor.  Then I let that dry completely. (a couple hours)

Once the Glass Effects was dry, I flipped the coasters over and painted the back of the wings with Copper and Bronze Lumier metallic acrylic paint.  This paint dries pretty quickly - about 10 minutes.

I was going for a stained glass effect, and I think if the sections of the wings were larger, I might have gotten it.  I'll try this technique again with a larger, more open design.  But for now, I have a coaster with shiny metallic butterflies.

I cut complimenting card stock 4 1/2" x 9" and folded in half.  Then used a rounding edger to round the 4 corners.  I glued that in place with Zip Dry adhesive, to create a little card.  I finished with a few dots of Viva Decor Glitter writer.


For more tips, tricks and acrylic inspiration, please visit the Clear Scraps Blog!


Thursday, August 16, 2012

August "Just Because Challenge" - Red Rubber Designs

I can't believe it has been a  month already since Red Rubber Designs had their first "Just Because Challenge".  But here it is....time for another one!

Play along with the challenge and upload your project to Red Rubber Designs Flickr Group for a chance to win.  Two randomly chosen entries will win 10.00 gift certificates.  Aside from the prizes, this is a great way to show the world your wonderful work and the projects you've created using Red Rubber Design Stamps.

For the August Challenge:
This will be a "recipe" challenge.
The recipe for your inspiration piece will be to:

Use 1 stamped image as your focal point.
Use 1 sentiment
Use something sparkly
Use ribbon

Be sure to tag your project once you've uploaded to flicker!!  JB0812 is the tag for this month.

Here is my project:  

For the focal stamp (the dove) I used one of this month's Featured Stamps - "Brushed Christmas."  The Christmas Trees also came from this stamp set.  These stamps were stamped in embossing ink and embossed with pearl embossing powder.  The sentiment also comes from one of the Featured Stamps - "Peace on Earth".  For my "something sparkly", I made a glittered background using sticky paper and dark blue and white Art Glitter.  

I hope you'll play along with the challenge!  For full details, please visit the Red Rubber Designs Blog!

Thursday, August 9, 2012

Retro Christmas Card

Christmas in August continues at Red Rubber Designs.  Have you checked out all the great Christmas stamps that are featured this month?!  For this card I used a mix of Christmas stamp sets:  "Peace on Earth" for the sentiment, "Gift for You" and "Mister Penguin".  I love the retro look of the packages, so I went with a retro color combination of crimson red and olive green.  The penguin was stamped on white card stock, colored and cut out to give it dimension and the feeling of running through the aisles of Macy's on a last minute Christmas shopping spree!  (See how flushed his cheeks are?!)  The packages were stamped in Moulin Rouge and Jardin Moss from Palette Ink.

Join in the holiday spirit all month at Red Rubber Designs!  Next week is the "Just Because" challenge.  Post your project on Flicker for a chance to win!!

Saturday, June 2, 2012

Double Glittered Butterfly Card

Welcome to the Art Glitter/Dreamweaver Stencil Cross promotion month. We have paired up with this wonderful company to show you how our glitter can be used with these beautiful and detailed stencils. All of our designers will be using the Double Glitter Technique! Make sure and check out Dreamweaver Designers every Thursday!

You can find all their designers at http://dreamweaverstencils.blogspot.com/

Make sure and play along all month with this fun challenge. Make sure and LINK to the Dreamweaver site to be eligible for 1 of 4 prize packages featuring stencils and glitter! You may even get your creation featured on Art Glitter's Blog!

Hope everyone will play along with this fun challenge. If you don't know how to do the Double Glitter Technique please head over to http://www.youtube.com/watch?v=Foyo09lKpw4 to see Lynell Harlow demonstrate.

Also for the month of June Art Glitter is selling all 1 oz jars of glitter for $5.98 regular price $7.32! Hope even if you don't play along with the challenge you will take advantage of the great price of glitter in June! http://artglitter.com/

This was my second attempt at the Double Glitter Technique and I can tell you that I am totally addicted to these stencils!  I had learned a little from my first project - namely selecting colors for my design and background that had a great deal of contrast.

I used: Dreamweaver Stencil #591 Three Butterflies
Art Glitter Ultrafine Opaque Glitter: # 16 - Blackberry
Art Glitter Ultrafine Pearlescent #186 - Purple Polkadot
Art Glitter Ultrafine Transparent #104 - Spring Mint

I started by soaping the back of the stencil and sticking the stencil to the sticky paper. (soaped side down) Then I used my tape roller to attach the sticky paper to a piece of cardstock for stability. I wanted to do the butterflies in a different color than the flowers so I used painter's tape and scraps of paper to mask off the area that I did not want to glitter - leaving one of the butterflies showing.

I covered this exposed area with Blackberry Ultra Fine Opaque Glitter.
After tapping it gently into the stencil, I tapped off all the excess glitter to reveal my first firework burst. Piece of cake!

I repeated this process for each of the butterflies. Then I filled in the flowers with Purple Polkadot Ultrafine Pearlescent Glitter.  Then I carefully removed the stencil from the sticky paper and covered the exposed paper with Spring Mint Ultrafine Transparent glitter.

After shaking all of the excess glitter, this was my results:

I finished the card by attaching the glittered design to a piece of pink metallic card stock.  I wrapped a piece of dark purple card stock with a piece of light green ribbon, glued the glittered piece on top of that and then added a swirl of rhinestones from Want2Scrap and a bow.  This was then all attached to cream card stock for the card.

Be sure to check out the Art Glitter team and Dreamweaver team all month for more double-glitter goodness!!