Thursday, June 28, 2012

Life's a Beach - RRD Scrapbook Page

Red Rubber Designs has been celebrating Scrapbook Month with lots of scrapbook layouts, mini-books, and various tips and tricks.  There are still lots of scrapbook items on SALE...now thru July 4th!!

This is my last scrapbook page for Scrapbook Month.  This time I wanted to create a page that incorporated a lot of different textures and techniques.  This is a mix of digital work and traditional (and maybe not so traditional) scrap booking.

A couple of months ago I discovered that in my graphics program, (Print Shop or Print Master, I think) I can change the "color" of a font and import a picture.  I have used this technique here for the "Beach"; importing a picture I had taken on the beach in Florida.  This was then carefully cut out to become the center point for the page.

I used card stock in colors to mimic the sand, sea and sky for my background.  I added double faced tape and sand that I had picked up in FL for the beach.  (I brought the sand home in a cup, but could have easily used the excess that came home in the luggage, car, shoes, etc....)

Next, I wanted to create some fun dimensional pieces with a beach/sea theme.  I rolled out white polymer clay and then dabbled green and blue alcohol inks on the front surface.  Then I coated this surface with mica powder to give it a "mother of pearl appearance".  This was then stamped with images from Red Rubber Designs "Under the Sea" stamp set in Palette Ink - Beaux Arts Blue.  The clay was then cut into shapes and baked.  This technique would work with air-dry clay as well.


One of the June New Release Stamps from RRD is "Punctuation" stamp set.  These are great, handy stamps to have on hand to add punctuation to your sentiments, but I decided to use them a little differently....The round parenthesis was used to create the waves in the ocean, and the smaller bracket was used to create a few birds in the sky.  The other stamp I used was the "Distressed Typewriter" set for the other lettering.

I finished the page by adding some glitter to the waves and seashore, and some shells and glass accents.


Wednesday, June 27, 2012

Connie Crystal Table Number Holder

If you've ever needed table number holders for a wedding reception or other event, the restaurant or banquet hall probably had something that looked like this.  Charming, right?!  Well, here is a quick fix to class up the plain metal number holders.

For this project I used, white ribbon, silver twist ties, clear bead wire, Connie Crystals - 1 Tear Drop, 3 8mm grey round crystals, 1 8mm clear round crystals, 1 10mm clear round crystals, and some silver spacer beads.


Begin by cutting about 18" of ribbon and forming a loop - like a remembrance ribbon.  Bring the front of the loop, down to the "x" in the ribbon.  Bunch the ribbon together in the center and then wrap with a silver twist tie and twist the wire to hold in place.


Take a 12" length of beading wire and thread through the teardrop crystal.  Bring both ends of the beading wire up through the remaining beads starting with a silver spacer, then grey 8mm, then spacer, then 8mm clear, spacer, 8mm grey, spacer, 10mm clear, spacer 8mm grey.  Then tie the bead wire around the center of the bow so that the crystals dangle down.  Double or triple knot the wire and trim the excess wire.


To cover the shaft of the holder, bring the end of a piece of ribbon into the loop at the top and then spiral the ribbon down the length of the holder.  Secure at the bottom with another silver twist tie.

Using the twist tie ends at the back of the bow, secure the bow to the top of the holder.

Check out Connie Crystal for beautiful crystals for this project.  There are also pre-made sun catcher strands if you don't want to string your own, and lots of colors to choose from!


Thursday, June 21, 2012

Rosco - A Raccoon's Tale

My husband and I have always been animal lovers.  When we moved to the country, we began building what my friends and family often referred to as "the zoo".  At our max. capacity we had:  3 dogs, 4 cats, 3 horses, 1 mini horse, 1 mini donkey, 6 llamas, 19 goats, 2 sheep, 5 rabbits, 6 geese, 2 turkeys and a handful of chickens.  (We have down-sized quite a bit since then.)  But of all the critters that have come and gone through the Eddy ranch, one of the most memorable was a baby raccoon that we adopted when he lost his mama.


Rosco was about the size of a kitten when he came to live with us.  He grew up fast in the five months that we had him.  He was litter box trained to the point that even after he had "moved out", my husband watched him come into the house through the doggie door, use the cat box, and head back outside.  For a while he used this private entrance on a nightly basis to come in for an evening visit.  He would have a quick snack from the dog dish, and then come into the living room to see us and play with the dogs for a while.  It was really quite a sight - I wish I had it on video!
Look....they're holding hands!

Eventually his visits grew farther apart until he stopped coming around at all.  I guess he finally realized he was a raccoon.  He left us with a few pictures and a lot of memories and every now and then, I still find little raccoon paw prints in my shop.  So this week's Red Rubber Design scrapbook project is all about Rosco.

I used the following supplies from Red Rubber Designs:
Printed Papers and Tags from the Reece and Wilhoughby paper collections, Palette Ink in Cognac and Burnt Sienna, Stamps: Leaves from this month's spotlight stamp, "Happily Grateful", Letters from "Distressed Typewriter Set", Photo tabs from "Reinforcers", and of course, the adorable raccoon from "Give Praise to Him" stamp set.

Saturday, June 16, 2012

Art Glitter/Dreamweaver Stencil Crosspromotion

Welcome back to the Art Glitter/Dreamweaver Stencil Cross promotion month. We have paired up with this wonderful company to show you how our glitter can be used with these beautiful and detailed stencils. All of our designers will be using the Double Glitter Technique! Make sure and check out Dreamweaver Designers every Thursday!

You can find all their designers at http://dreamweaverstencils.blogspot.com/

Make sure and play along all month with this fun challenge. Make sure and LINK to the Dreamweaver site to be eligible for 1 of 4 prize packages featuring stencils and glitter! You may even get your creation featured on Art Glitter's Blog!

Hope everyone will play along with this fun challenge. If you don't know how to do the Double Glitter Technique please head over to http://www.youtube.com/watch?v=Foyo09lKpw4 to see Lynell Harlow demonstrate.

Also for the month of June Art Glitter is selling all 1 oz jars of glitter for $5.98 regular price $7.32! Hope even if you don't play along with the challenge you will take advantage of the great price of glitter in June! http://artglitter.com/

If you checked out the Art Glitter blog today you may have seen a card that I made with the Mosaic Swirl Stencil from Dreamweaver Stencils and the double glitter method.  I am using that stencil again for another project.  This time...a bangle bracelet.

For this project I used:  Art Glitter (of course!) - Ultra Fine Pearlescent - #179 - Tang, Ultra Fine Transparent Neon -  #238 - Barbie's,  and Ultra Fine Opaque - #30 Royale.
And Dreamweaver Stencil - #901 - Mosaic Swirls
Bangle Blank from Diy Bangle.


I started by soaping the stencil and then taping 2 strips of 3/4" double stick tape across it.  I then use my little glitter spoon to spread small amounts of Tang and Barbie's Pink glitter in random swirl patterns.  I used the spoon to spread this glitter out and make sure that all the areas had been filled.  Then I tapped the excess glitter on to a piece of card stock and then into a clean container to use the pink/orange mix for another project.  

I removed the tape from the stencil and filled in the exposed areas with Royale blue glitter.  I then removed the plastic backing from the glittered tape.  This was probably the most challenging part of the project...but have patience and eventually you will get the backing to release.  

The tape was then attached to a DiyBangle that had been painted black.  The two pieces are actually a little longer than you need.  Just snip off the excess neatly. 

I finished by running 1/4" double stick tape around each edge and covering this with more Royale blue glitter.


Friday, June 15, 2012

Acrylic Scrapbook page - Red Rubber Designs

June is Scrapbook month at Red Rubber Designs, but it is also wedding month.  This month, my husband and I will celebrate our 24th Anniversary on the 24th, and my niece will celebrate her 1st Anniversary on the 25th.  So, I have created a scrapbook page for her on a scalloped square from Clear Scraps.  These sheets are typically sold in a bundle so that you can create an album with the acrylic.  I like to pull the bundles apart and use the individual sheets in projects.

For this project, I used stamps from the "I Heart You" stamp set collection for Red Rubber Designs.  This is one of the new June Releases.  I can see getting a lot of use out of this very versatile stamp.  I created a background with the hearts in Charcoal Palette Ink on white card stock.  Then I reversed the design for the double heart in New Canvas Palette Ink on black card stock.  I also used the larger open heart from this stamp in silver ink on the acrylic and on black card stock, and the solid heart was stamped and embossed with silver embossing powder.  I finished with some rhinestone embellishments, pearl pen dots and a couple flowers.

This could now be used as the front cover for an acrylic mini-album, or incorporated into a 12x12 scrapbook page, or ribbons could be tied into the holes at the top to create a hanger for the wall.  Red Rubber Designs carries some fun acrylic shapes for you to include in your scrapbooking projects too!  Check them out in the Mixed Media supplies section.

Wednesday, June 13, 2012

Go Long!! Connie Crystal Earrings

I am really loving the new LONG earrings that I'm seeing everywhere!  They show up great with long hair, but look stunning with short hair or up-do's too.  This is a super quick pair of dazzling crystal earrings.

You will need 6 Connie Crystal Octagon crystal beads. - 2 Purple, 2 Grey & 2 Crystal AB
10 silver eye pins
4 - 4mm silver jump rings
2  Silver fish hook ear wires
Needle nose pliers
Round pliers

Begin by threading an eye pin through the hole of a grey bead.  Bend the wire so that the eye extends up from the hole about 1/8" past the edge of the bead.  Bring the other end of the pin up and wrap it tightly around the shaft below the eye - go around two or three times.  Snip off any excess wire and use your needle nose pliers to bend the end so that it runs flush with the wrapped wire.  Repeat on the other side of the grey bead.  Then repeat for the other grey bead, both sides of the purple beads, and one side of the crystal AB beads.


Now connect the pieces with jump rings.  Use your round pliers to open up the loop at the bottom of the ear wires.  Slip the loop at the top of the grey bead (or whichever bead is at the top of your chain) onto the loop of the ear wire and re-close the loop on the ear wire. 

These went together so quickly and easily and have so much sparkle and shine that I will definitely be making more!  

Thursday, June 7, 2012

Red Rubber Designs June Spotlight Stamp - Butterfly Scrapbook Page

It is the First Thursday of the month, so that means we have New Releases at Red Rubber Designs! June is about scrapbooking at RRD. All month, the design team will be posting scrapbook ideas like - layouts, mini albums, art journals, and embellishment ideas etc...all using the newly released June stamp sets.

We have a contest too - a Scavenger Hunt! How FUN! Each design team blog will have a different question about Red Rubber Designs and the answers can all be found in the Red Rubber Designs Store http://www.red-rubber-designs.com/

Once you find all 7 answers to the questions, email your answers to contest@RedRubberDesigns.comwith your name and email address. If you answered correctly, your name will be entered into a drawing for the June Spotlight Stamp Set - "Happily Grateful". One winner will be chosen at random. Good luck and Happy Hopping!

Contest ends Sunday, June 10th at Midnight (US-CT).

So here we go with my scrapbook layout.  For years I have proclaimed that I am NOT a scrapbooker (not that there's anything wrong with it)....it just wasn't one of my chosen crafts.  But when in Rome.....It is national scrapbook month and this week the team is all doing scrapbook layouts using the Spotlight Stamp - Happily Grateful.  

For this project I used:  Cardstock in Spring Green and Olive Green, Patterned paper from Reese Paper Stack, 2 pages and tags from the Pemberley Bay Matchbook Kit, Eyelets from the Mulberry Meadow set, Ribbon from Reece/Woodrowe & Angelee/Natalie sets, Palette Inks:  Jardin Moss, Sunflower, Beaux Arts Blue, Chartreuse, and embossing ink, Gold embossing powder and Stamps:  Happily Grateful, Background Soup and For Everything.

Of the 6 mini album kits, which one is the brightest color?

I began by creating a background on the lighter card stock - I swirled the Sunflower Ink pad to create a marbled background and then stamped the leaves from "Happily Grateful" stamp set in a random pattern of Sunflower and Chartreuse.  Then came my favorite part....adding a few butterflies and patterns from "For Everything" stamp - stamped with embossing ink, then covered in gold embossing powder and heat set.  

The flip out sections are pages from the Perberley Bay Matchbook Kit.  I hated to break up the kit, but I loved these colors and I really wanted to have pages within the page.  These are pre-scored for a fold line.  These were each attached to a piece of patterned paper with eyelets and then the ribbons were threaded thru and the section was attached to the base card stock with double face tape.


I added some tags inside the flip-out pages for titles or journaling.  To bring it all together, I stamped a few more butterflies and a few more leaves.

So there it is.....my FIRST EVER scrapbook page.

Be sure to visit the other Design Team Member's blogs to see more scrapbook layouts with this stamp set.
Red Rubber Designs  (There will be a post with contest details)
Sarah
Paula-Kay
Louise
KC (you are here)
Kate
Diana
Debra


And visit RedRubberDesigns.com to see more June release stamps - like this one:

Here I am


Saturday, June 2, 2012

Double Glittered Butterfly Card

Welcome to the Art Glitter/Dreamweaver Stencil Cross promotion month. We have paired up with this wonderful company to show you how our glitter can be used with these beautiful and detailed stencils. All of our designers will be using the Double Glitter Technique! Make sure and check out Dreamweaver Designers every Thursday!

You can find all their designers at http://dreamweaverstencils.blogspot.com/

Make sure and play along all month with this fun challenge. Make sure and LINK to the Dreamweaver site to be eligible for 1 of 4 prize packages featuring stencils and glitter! You may even get your creation featured on Art Glitter's Blog!

Hope everyone will play along with this fun challenge. If you don't know how to do the Double Glitter Technique please head over to http://www.youtube.com/watch?v=Foyo09lKpw4 to see Lynell Harlow demonstrate.

Also for the month of June Art Glitter is selling all 1 oz jars of glitter for $5.98 regular price $7.32! Hope even if you don't play along with the challenge you will take advantage of the great price of glitter in June! http://artglitter.com/

This was my second attempt at the Double Glitter Technique and I can tell you that I am totally addicted to these stencils!  I had learned a little from my first project - namely selecting colors for my design and background that had a great deal of contrast.

I used: Dreamweaver Stencil #591 Three Butterflies
Art Glitter Ultrafine Opaque Glitter: # 16 - Blackberry
Art Glitter Ultrafine Pearlescent #186 - Purple Polkadot
Art Glitter Ultrafine Transparent #104 - Spring Mint

I started by soaping the back of the stencil and sticking the stencil to the sticky paper. (soaped side down) Then I used my tape roller to attach the sticky paper to a piece of cardstock for stability. I wanted to do the butterflies in a different color than the flowers so I used painter's tape and scraps of paper to mask off the area that I did not want to glitter - leaving one of the butterflies showing.

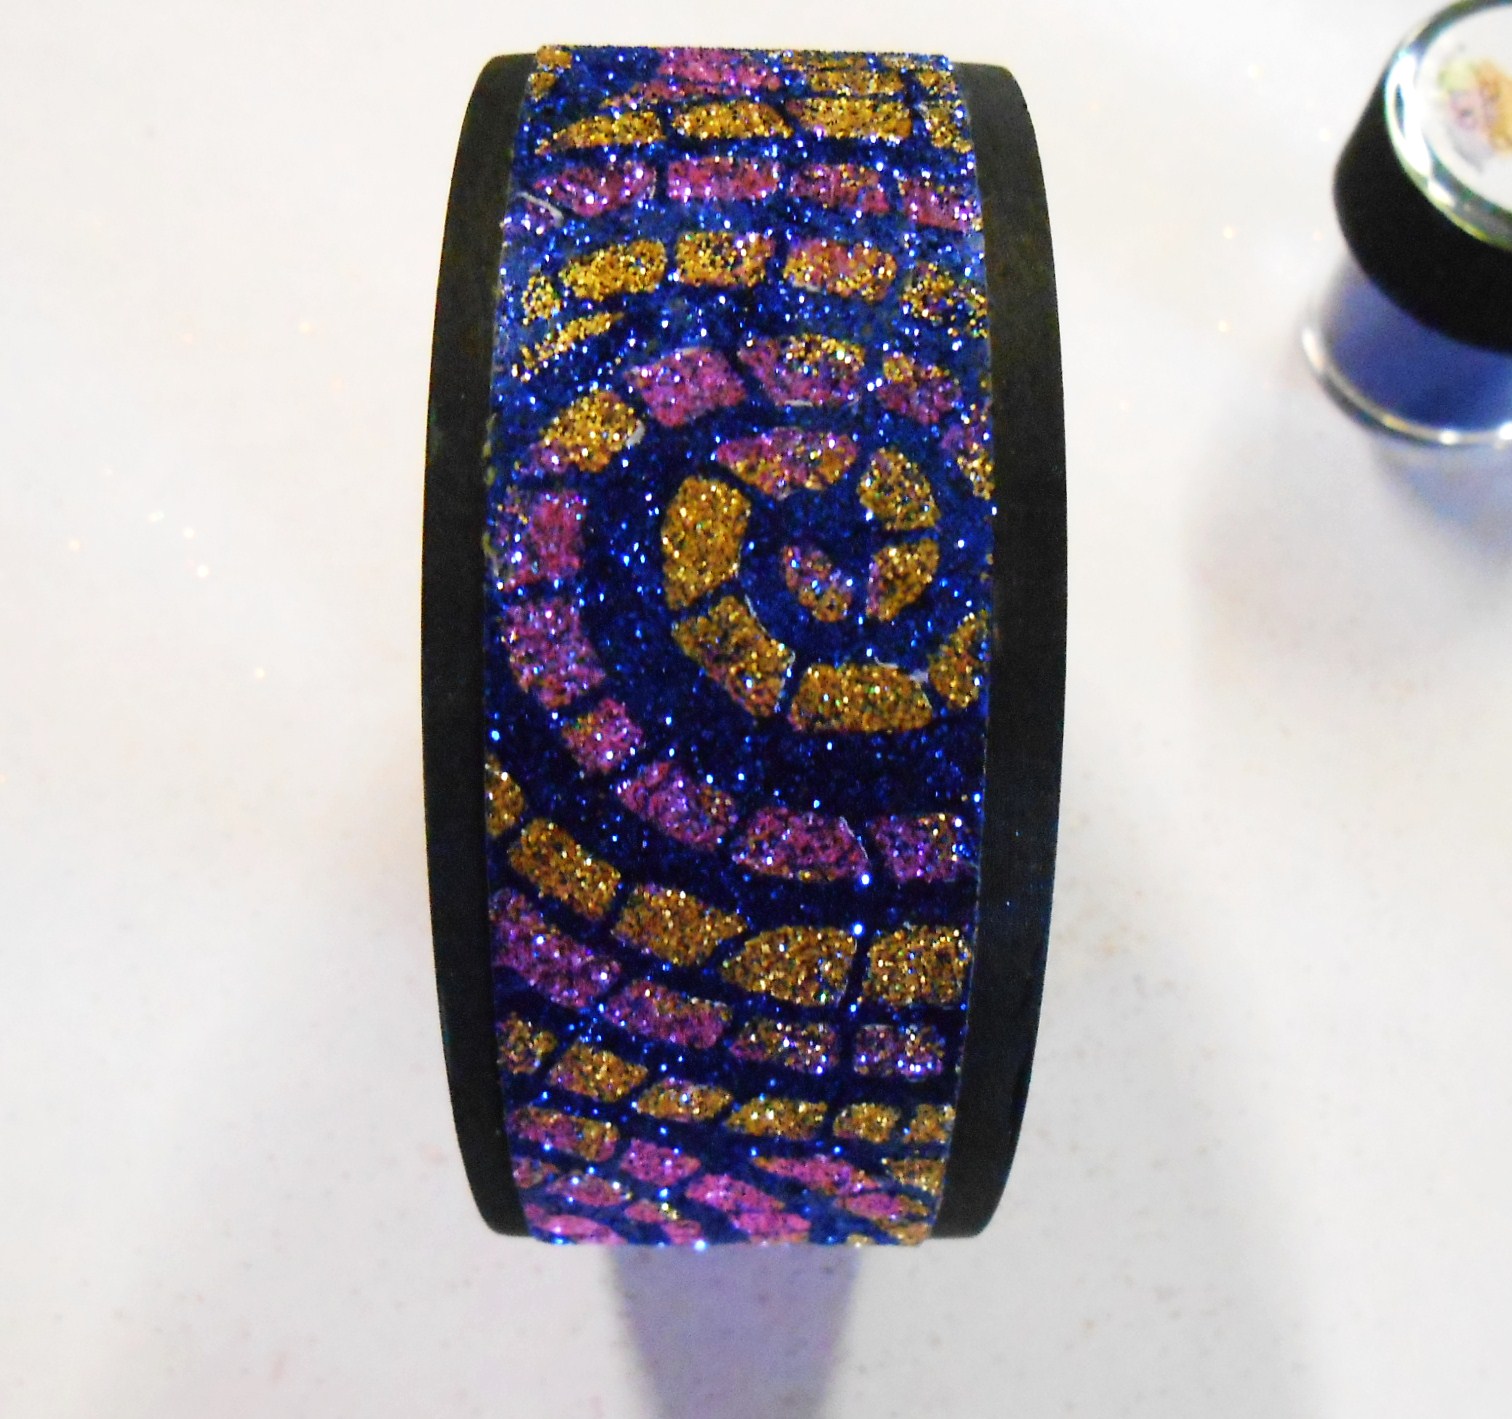
I covered this exposed area with Blackberry Ultra Fine Opaque Glitter.
After tapping it gently into the stencil, I tapped off all the excess glitter to reveal my first firework burst. Piece of cake!

I repeated this process for each of the butterflies. Then I filled in the flowers with Purple Polkadot Ultrafine Pearlescent Glitter.  Then I carefully removed the stencil from the sticky paper and covered the exposed paper with Spring Mint Ultrafine Transparent glitter.

After shaking all of the excess glitter, this was my results:

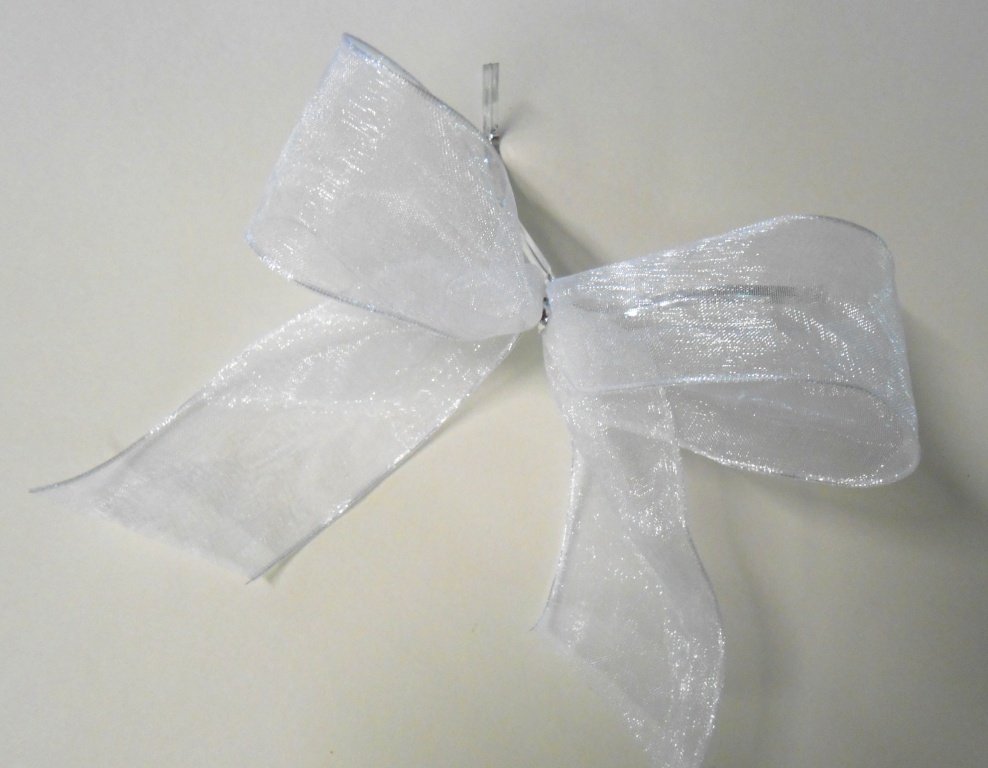
I finished the card by attaching the glittered design to a piece of pink metallic card stock.  I wrapped a piece of dark purple card stock with a piece of light green ribbon, glued the glittered piece on top of that and then added a swirl of rhinestones from Want2Scrap and a bow.  This was then all attached to cream card stock for the card.

Be sure to check out the Art Glitter team and Dreamweaver team all month for more double-glitter goodness!!