Thursday, September 27, 2012

Thank You, Red Rubber Designs!

This is a bittersweet moment as I write my final post for Red Rubber Designs.  It has been a wonderful experience designing for this company.  I have the utmost respect for Pam, Sarah and the rest of the RRD Design Team!  I have been inspired to step outside of my comfort zone and try new many new things.  You are all so talented and I have enjoyed working with you all so much!  I will continue to follow along with your posts and challenges.  I have learned so much from all of you and I know you have only scratched the surface with all you have to share.

For may RRD Design Team Friends, a simple "Thank You"!

For this card I used Vintage inspired stamps from Red Rubber Designs - Victorian Embellishments and Vintage Greetings, and paper from Amelia Patterned Cardstock Collection.  The stamping was done with embossing ink and heat embossed with gold embossing powder.  The gold stripe is a strip of double stick tape that was put in place, then coated with embossing powder and heat set.


KC

Wednesday, September 26, 2012

Feeding the Hummingbirds with an upcycled wine bottle

Earlier this summer I broke my hummingbird feeder and we have gone without one for most of the summer.  A few weeks ago I was enjoying a beautiful day outside and decided it was time to get a feeder back up.  I wasn't completely sure there were still hummingbirds in our area, but I hung the feeder anyway.

I was delighted to see this little guy using it the next morning.  As the week went on, he and his friends drained the nectar.  So the following weekend it was time to clean it and refill it.

I didn't even have it hung back up yet and one was back looking for more.  She was so anxious that I tipped the bottle over and she drank from it while I was holding it.  My daughter was walking past the window and saw me feeding the hummingbird and wanted to try it too.  So I grabbed my camera, she grabbed the feeder and we sat and waited for our new friend to come back.  We didn't have to wait long.  Just a few minutes later, she came flitting over.  She hesitated a little but then came in and gave us a great photo op!

The directions for this hummingbird feeder are on the Connie Crystal Blog today.  Drop by and check it out!

And don't forget, you can get Connie Crystals on Amazon, at AC Moore, or if you have a store and a resale number, you can get a wholesale account directly from Connie Crystal.


Tuesday, September 25, 2012

Experimenting with Clear Scraps Acrylic

If you have never played with Clear Scraps Acrylic, you may be a surprised to find out how forgiving it is.  If you ink it with alcohol inks and then decide you don't like the color or effect, you can remove it with non-acetone nail polish remover.  If you stamp it and are not happy with the stamp, you can remove it with rubbing alcohol or non-acetone nail polish remover.  But even though I know I can undo a lot, there are still times I'm a little nervous about trying a new technique on a piece.  For that reason, I always keep some smaller Clear Scraps pieces around that I can experiment on.  The Coasters, Tags, and ATC pieces are great for this.  If I try something that can't be reversed, and I don't like the result, I can pitch it, and I haven't messed up a large layout or album.  If I'm happy with it, I can use it in a larger project, or as a tag or card.

This was one of my experiments from this weekend.  I used a Clear Scraps Coaster and some butterfly stickers from Mark Richardson.

I filled in the open areas of the wings with Glass Effects from Viva Decor.  Then I let that dry completely. (a couple hours)

Once the Glass Effects was dry, I flipped the coasters over and painted the back of the wings with Copper and Bronze Lumier metallic acrylic paint.  This paint dries pretty quickly - about 10 minutes.

I was going for a stained glass effect, and I think if the sections of the wings were larger, I might have gotten it.  I'll try this technique again with a larger, more open design.  But for now, I have a coaster with shiny metallic butterflies.

I cut complimenting card stock 4 1/2" x 9" and folded in half.  Then used a rounding edger to round the 4 corners.  I glued that in place with Zip Dry adhesive, to create a little card.  I finished with a few dots of Viva Decor Glitter writer.


For more tips, tricks and acrylic inspiration, please visit the Clear Scraps Blog!


Thursday, September 20, 2012

Tag! You're it! Red Rubber Designs Just Because Challenge

Have you played along with Red Rubber Designs "Just Because" Challenge?  It's easy!  Each month, on the third Thursday, RRD will announce the rules for the monthly challenge.

Your mission:  To create a card, tag, scrapbook layout or any project using any stamp in the Red Rubber Designs store following the specific rules of each challenge. Participants will upload their project to the Red Rubber Designs Flickr Group. They will include a challenge specific tag (to be posted with each challenge) so that we can easily find their entry. Deadline is two weeks from the challenge date.
Only those stamps currently in the Red Rubber Designs store can be used for the challenge project. Entries not using current stamps cannot be accepted.

A $10 Gift Certificate to the Red Rubber Designs store will be awarded to one randomly chosen participant!

This month's challenge:  Create a tag in a non-traditional shape.  Anything but a rectangle!

Upload a picture of your tag to the RRD Flicker Group and tag it JB0912

To get you started, here is a picture of my tag.
For this tag I used paper from the Catelynne Patterned Cardstock Collection and One of this month's featured stamp - Vintage Greetings.


For complete rules visit the Red Rubber Design Blog.

Thanks for stopping by!


Tuesday, September 18, 2012

Discovering Clear Scraps

About 3 years ago, my sisters and I were wondering through the CHA Summer Show in Chicago.....

What is CHA???  CHA = Craft and Hobby Association.  I am amazed at the number of people I meet that are involved in the crafting industry - as hobbyists, retailers, designers and professional crafters that have never heard of CHA.  If you fall into one of those categories, or think you might...you should definitely check out www.craftandhobby.org and consider becoming a member.  The CHA shows are an incredible way to see what's new in the craft industry, play and experiment with products and techniques, network with others in the industry and most of all...get your creative juices flowing!  It is my favorite week of the year - surrounded by so much talent and inspiration - plus I get to hang out with two of my favorite people - my big sisters.
My very first Clear Scraps project - a dainty little dry-erase board
that we made as a "make-n-take" at CHA 2010
So about 3 years ago, we were wondering the CHA Show and I came across a product that was so different from anything I'd seen at the shows - Clear Scraps!!    I was mesmerized by the beautiful project on display in the booth.  I had to have it!  I didn't know what I was going to do with it...just knew I wanted it!

What are Clear Scraps??  Clear Scraps are high quality acrylic albums, banners, shapes, embellishments and more.  You can ink them, stain them, paint them, stamp them, emboss them, embellish them....just about anything you can do on paper, you can do on Clear Scraps.  But it's ACRYLIC.  So, unlike paper, it doesn't curl up on you when you paint or mist one side.  It won't tear or disintegrate with time.  It's sturdy, yet light weight and SO much fun to play with!

A few months later I saw that Clear Scraps was looking for designers for their Design Team.  So I put a few projects together and applied.  Now, I will be the first to admit that the projects I submitted were not some of my best work....not that I was trying to turn in sub-par work.......I just cracked under the pressure of trying to come up with something unique, while staying true to my style....so I was not all together surprised when I did not make the team.  Not surprised, but still disappointed.

So last year, I thought I'd get a jump on my Clear Scraps projects and be ready for their Design Team call....only they never had one :(  Or if they did, I missed it.
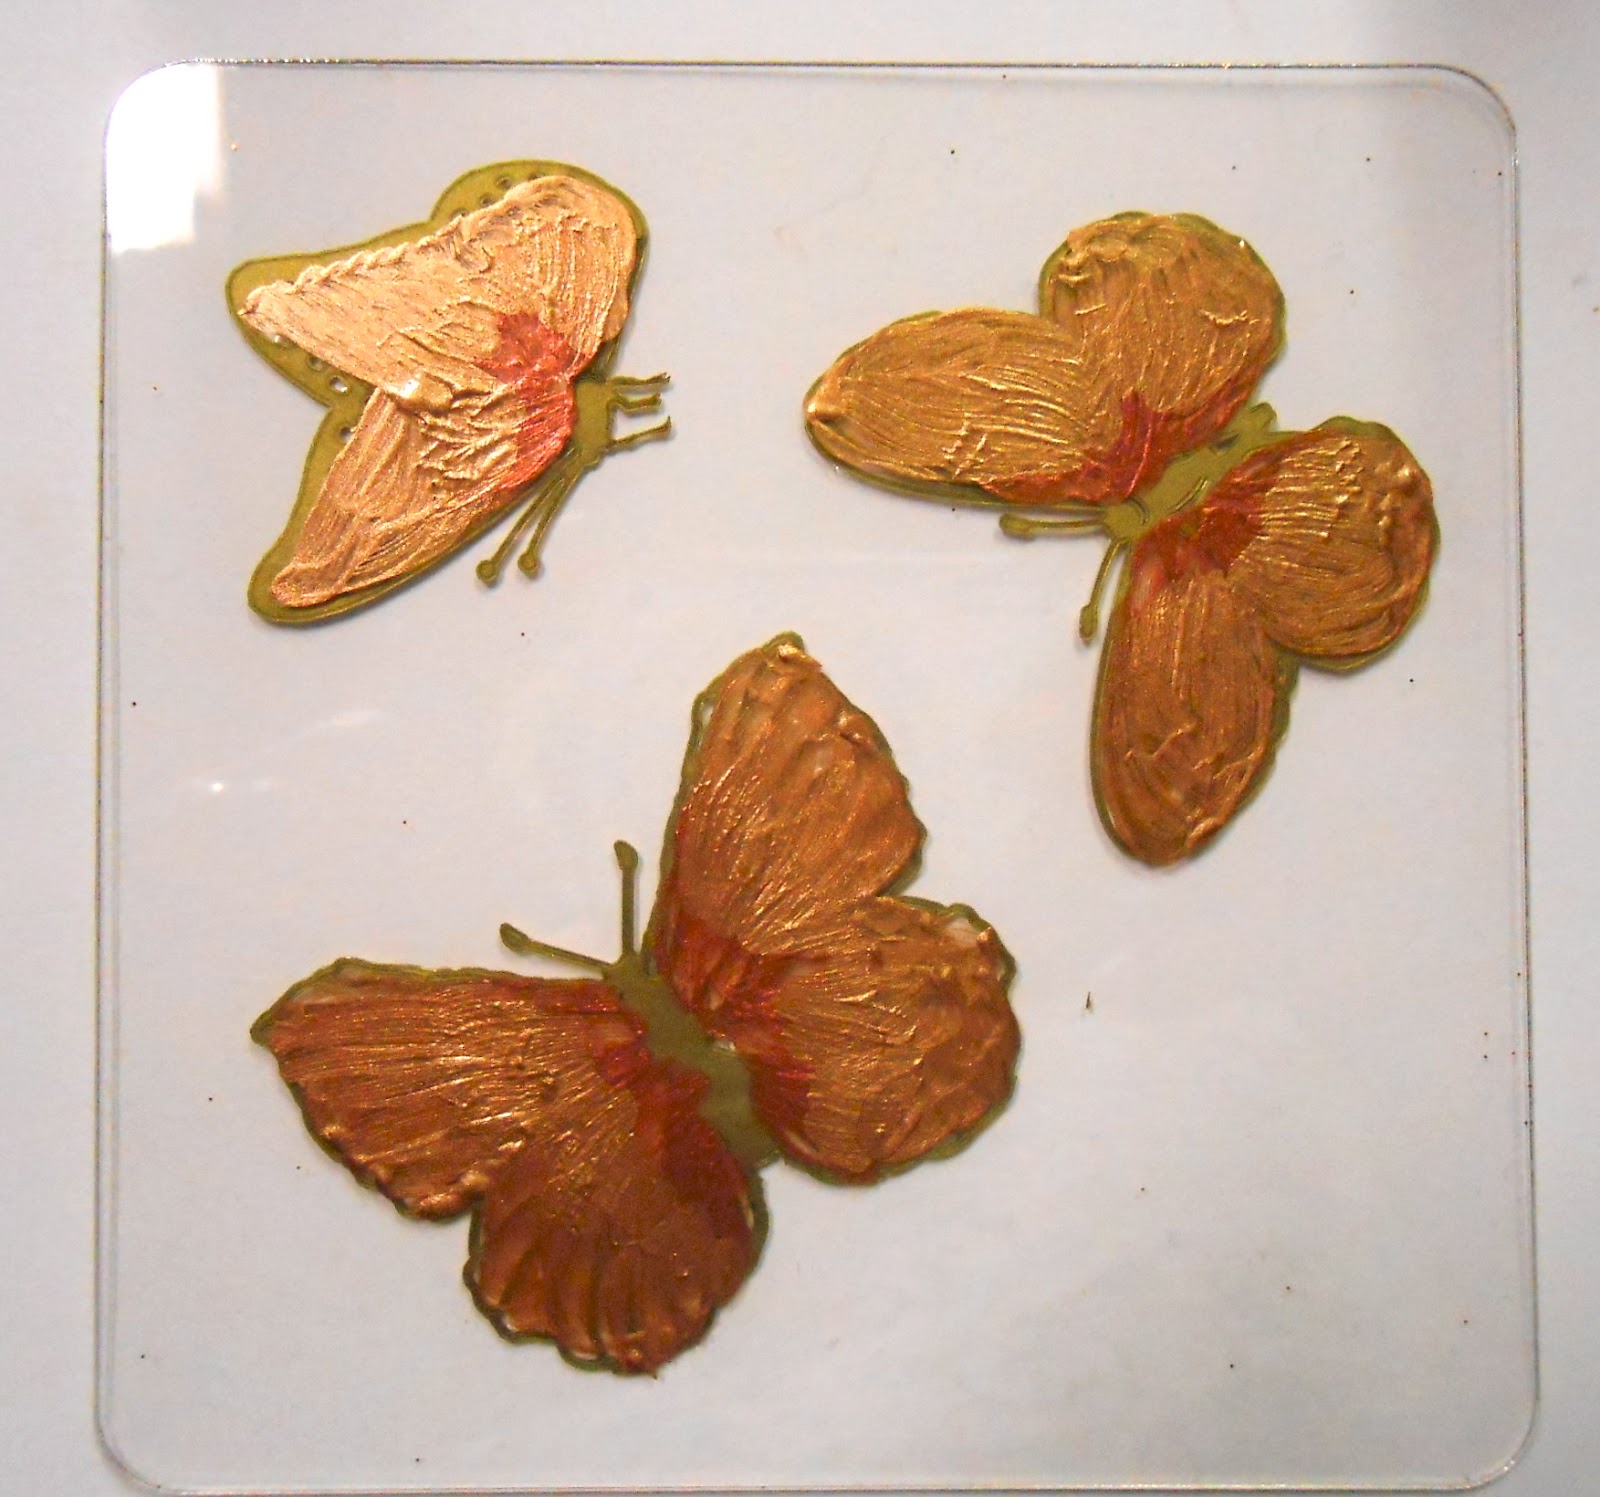
My audition piece for Clear Scraps Design Team 2012

Then a couple of months ago, my sister sent me a link to the CS blog and said "Did you see this?".  It was a Design Team Call!!!  YAY!!  I was ready!!  I had been busy building up my blog and had already blogged about a few projects that I had made with Clear Scraps.  I had a couple of CS projects ready to submit for my application.  So I put it together and sent it off, and then held my breath for about a week.  Then I came back from lunch one day and opened up my email to see a subject line that said "you have been invited to join the Clear Scraps Design Team".  I'm not sure what the rest of the office thought of the dancing and happy noises coming from my office.  But I am thrilled today to be sharing a link to my first official Post as a Clear Scraps Designer.  Please go check it out as well as the insanely creative posts from the rest of the team!

So....what have we learned today??
1.  If you are in the crafting industry in any capacity, check out CraftandHobby.org to find out about upcoming shows and member benefits.
2.  Clear Scraps is a fabulous company with unique and versatile products that you should definitely check out!  Clear Scraps Blog
3.  If at first you don't succeed.....(you know the rest)

Thanks for visiting and listening to my rambling!  Please visit again!


Saturday, September 15, 2012

"M" is for My Daughter

I can't believe my baby is turning 20 next week!  She's away at school and moved into her first apartment this year.  But what really shows me that she is growing up is that she has finally moved beyond zebra stripes in her decor!  She actually picked a very "grown up" comforter for her room, so I am making an "M" for her wall.

For this project I used:  A chipboard "M" (you can use the letter of your choice :)  Scraps of paper in her color scheme, Helmar Decoupage Paste, Helmar Gemstone Glue, Art Glitter Ultrafine Glitter - #249 Woodberry, Reusable stencil from Plaid, Embossing ink (Versa Mark) and embossing powder (Mardi Gras from Globecraft Memories).
Start with a chipboard letter

Tear scraps of paper and arranged them loosely on top of the M making sure everything will be covered and that you have a good balance of colors.

Use a sponge brush to brush a thin layer of Decoupage Past on the chipboard and lay the first piece of paper down.  Then put more paste on top of the first piece, just where the second piece would over lap and make sure you have enough paste on the letter to hold the second piece in place.

Continue until you have the entire letter covered, with the papers extending beyond the edges.
Let dry completely.

Use an Exacto knife or razor knife to cut the excess paper away.  Turn the letter upside down on a cutting surface and work from the backside.  Don't try to hold your knife flat against the edge of the letter to cut.  You will end up cutting into the chipboard.  Hold the knife so it is at a 45 degree angle from the edge and follow the bottom edge of the letter.  If you are impatient, like I was, and don't wait for your paste to be completely dry, your paper may not cut straight or may wrinkle or tear.


Brush the front of the letter with a generous coat of Decoupage Paste and let dry completely.  If there were edges that came up during the cutting process, put a little paste under them and press them back into place.

My daughter loves Fleur de Lis, and I happened to find this pack of stencils from Plaid that had the Fleur de Lis on the front of the package.  It was meant to be....
Tape the stencil in place with painter's tape.

Use a small sponge brush or stencil brush to stencil Gemstone Glue.

Remove the stencil and cover the glue with Art Glitter Ultrafine Glitter.  Tap the excess onto a clean sheet of paper and pour back into the jar.  Once the glue is dry, use a soft brush to brush any excess off the Letter.

I finished the "M" by adding some rhinestone Fleur de Lis from my stash drawer.  Then I stamped and heat embossed some flourishes in the corners.

Please be sure to visit the Art Glitter Blog for more glittering creations!

Thanks for stopping by!

KC


Thursday, September 13, 2012

Recycled Scraps Card

I love using my die cutter to cut paper flowers, but it kills me to throw away the beautiful printed paper that is left after I've punched the flowers out.  I recently had to cut a bunch of flowers for a project and as I was gathering up the leftover paper, I decided it would make a really interesting background for a card or project.

For this card I used die cut leftover and background paper from the Amberley Grace Pattern Carstock collection and Hemingway Patterned Cardstock collection.  The flower stamp is from one of Red Rubber Designs' Featured Stamps - "Medallions".  The sentiment is from another featured stamp - "Vintage Greetings".

Visit Red Rubber Designs to see all of the great Vintage inspired stamps that are featured this month!.


Wednesday, September 12, 2012

Connie Crystal - Upcycling Denim

I've been have a great time this month making something old into something cool and new.  Please visit the Connie Crystal blog for my project using old denim, glitter and Connie Crystal Octagon AB beads!

Don't forget...if you have a shop, you can sign-up for a wholesale account with Connie Crystal!

Tuesday, September 11, 2012

Red Rubber Designs - Tutorial Tuesday

So what would you do with an old pair of white kid's jeans?  Where some see trash, I see a blank canvas....

Check out Red Rubber Designs' Tutorial Tuesday for a stamping technique with LOTS of possibilities!

Thursday, September 6, 2012

The Button Box - Red Rubber Designs First Thursday Blog Hop

A few weeks ago we had a craft party, and I was intrigued by the amount of time that two young girls spent pouring over the collection of buttons I had brought.  It reminded me of being a kid and spending HOURS sorting and playing in my mom's cookie tin of buttons.  So when I got the word that our project for the blog hop was to use the Spotlight Stamp - "Sew Thankful", I knew exactly what I wanted to do!

I have recycled a cigar box into my new button box - with vintage (ish) treasures inside and out.  I used paper from the Amelia Paper stack to cover the box.  The Dress Form, Sewing Machines, and Scissors are all from the "Sew Thankful" collection.  They were all stamped in embossing ink and heat set with black embossing powder on paper from the Amberley Grace Paper collection (my personal favorite collection!).  The gold design running across the burgundy paper at the top is from the "Life of the Party" stamp set - stamped and embossed with gold embossing powder.

The RRD First Thursday Contest is a little different this month.  Your job is to guess how many spools of thread are in this quart canning jar:

Only 1 guess is allowed and should be sent to contest@RedRubberDesigns.com
One winner will be chosen from the correct answers. If there is no correct guess, the person who comes the closest will receive the spotlight stamp set "Sew Thankful". In case of a tie, a random draw will take place between those tied.

Contest ends Sunday, September 9 at midnight (CDT).

Also - Please visit the rest of the design team to see what everyone has done with the stamp set!

Red Rubber Designs http://blog.red-rubber-designs.com/ (There will be a post with contest details)
Sarah
Paula-Kay
Louise
KC  - (You are here)
Kate
Diana

As a special bonus.....if anyone can guess how many buttons are in my Button Box, I'll send you a special crafting treat!

You must follow this blog to be eligible to win, so if you are not already following, please hit the "follow" button on the right.  Then leave your guess in the comments on this blog.  Deadline for guesses is Sunday, Sept 9th at midnight!!  Closest to the correct answer wins!  If there is a tie....I'll send two out!  If there is a 3-way tie....The first two to respond will win.  (Sorry - have to draw the line somewhere :)


Saturday, September 1, 2012

Faux Dichroic Glass Pendant - made with Polymer Clay and Glitter

I love making fused glass jewelry and playing with dichroic glass, so I almost feel like I'm cheating by doing this faux dichroic glass project.  But, this is a really fun technique with endless possibilities, and may be more suited to the general population, since there is no need for access to a kiln.

For this pendant I used:  Silver Pardo Jewlery Clay, Pendant blank from Metal Gallery, Art Glitter Ultra Fine Glitters - #65 Old Gold, #157 Purple Lame, #241 Fresh Lime, E6000 Glue and Lisa Pavelka Magic-Glos UV Resin

Condition the Pardo Clay (work it until it is soft) and then roll it through a pasta maker on the thickest setting, until you have a piece that is larger than the pendant setting.  You can use a roller if you don't have a pasta maker.

Press the pendant setting face down into the clay to mark the size of the pendant.  Use a craft knife to cut out the clay, just inside the marking.  


Use your finger to press random patches of glitter into the clay.

Carefully place the clay into the pendant setting and bake according to clay instructions.

Depending on the temperature and length of baking time, your glitter colors may change slightly.  Because I was using a transparent Lime Green, it faded a little and my colors picked up a little more pink and copper tones.  Watch your clay as it bakes to make sure the glitters aren't getting "burnt out".  Since the clay shrinks a little during baking, once it is cool, you should be able to pop the clay out of the pendant pretty easily by using a craft knife along the edge.  Put a few drops of E6000 in the pendant setting and replace the clay piece.  This will keep the clay in place permanently. 


Place the pendant on a ceramic tile so that the loop at the end hangs off the tile and the pendant lies flat.  Add a few drops of Magic-Glos to the top of the clay.  Use a toothpick to pop any air bubbles and draw the Magic-Gloss out to the edges of the pendant.  Add a few more drops as necessary until you have the pendant completely covered.

If you have access to a UV light, you can cure the Magic-Gloss in about 10 minutes under the UV light.  If you do not have a UV light, you will need to place the pendant outside in a level spot and let the sun cure the resin.  There are other jewelry resins that do not require UV light (or sunlight) but this is my preferred method because it sets up quickly, and I like the rock-hard finish.

The finished pendant has a rainbow of glittering sparkles.  


Thanks for stopping!
KC